300ct Morganite Gemstone Cut by Steve Moriarty
Summary
Steve Moriarty details the intricate process of cutting a huge 700-carat rare and valuable gemstone, specifically a 744-carat peach-colored morganite. Steve Moriarty guides the audience through the transformation of this rough gem into a museum-quality faceted morganite, highlighting the techniques and considerations involved in gem cutting. The process starts with examining the gem for inclusions and deciding on the cut, which entails a significant reduction in weight - often losing 60 to 70% of the original mass. Moriarty discusses the use of a faceting machine, the importance of symmetry for brilliance, and the choice of a Portuguese style trillion cut. The cutting process involves careful grinding, dopping (attaching the gem to a holder for cutting), faceting, and polishing, requiring meticulous attention to detail. Finally, Moriarty reveals the finished gemstone, which weighs 294.54 carats and is valued at $192,375. The document showcases the craftsmanship, technical expertise, and artistic vision required in gem cutting, culminating in the unveiling of a stunningly brilliant and beautifully colored morganite.
Transcription
Steve Moriarty:
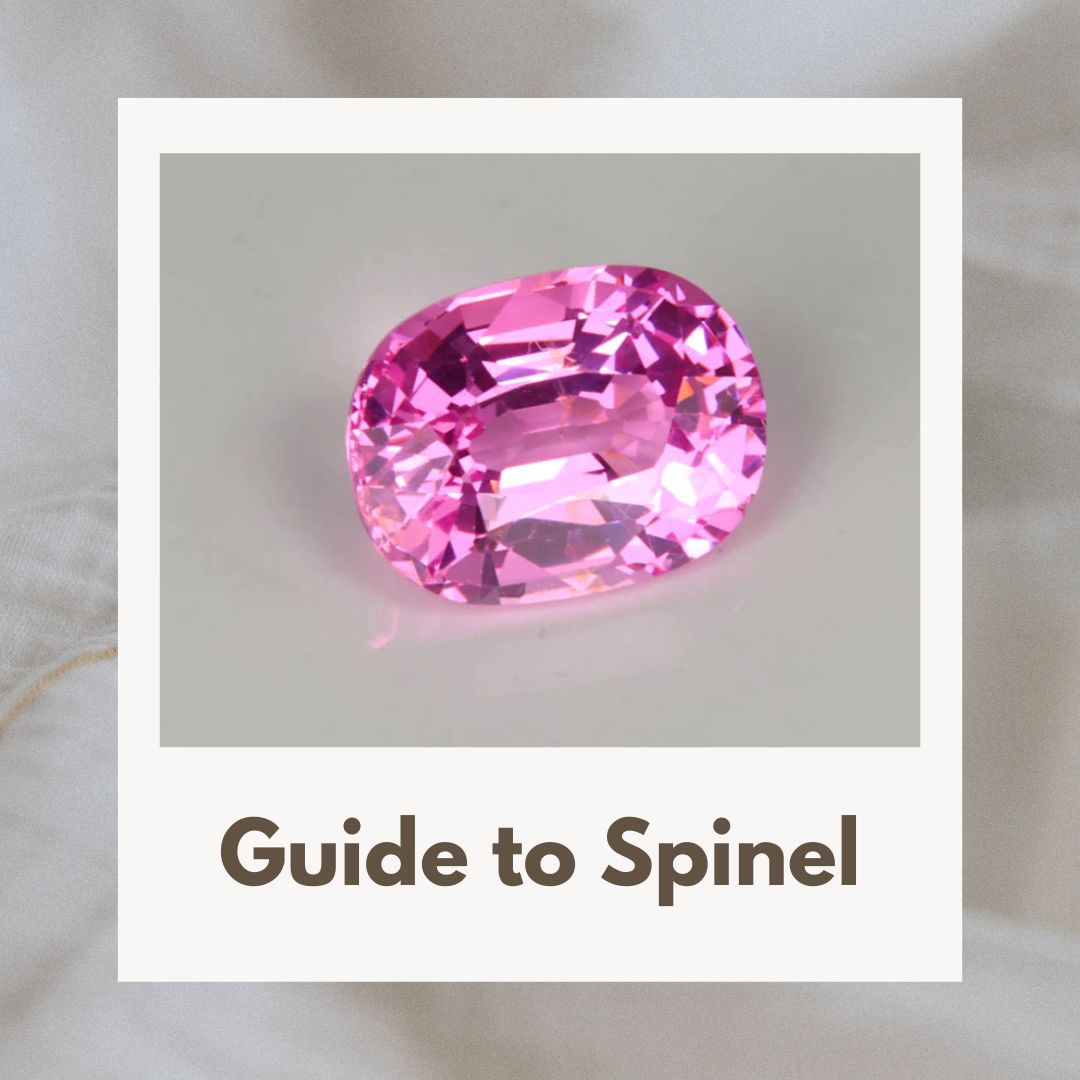
Just look at this amazing piece of morganite. It's a 744 carat peach-colored barrel, which is what morganite is. During this video, we are going to see us transform this into a museum quality faceted morganite.
This morganite has a pretty clear surface on it, unlike a lot of material you're going to look at. Even so, once you put the wintergreen oil on it, you can see just how transparent it gets. These are refractive index fluids that are just helpful in identifying inclusions with a stone, and will help you decide how to cut a stone.
When you're cutting gems, your typical weight loss is a minimum of 50%, and typically, more like 60 to 70% loss from the original piece of rough. This piece, I'm sure it was far in excess in that this was probably a very large piece that this was cut out of. Maybe the yield was 5%, who knows? We're going to be lucky to get 40% out of this stone. Let's get started, and start grinding. To do that, you run lots of water, because we're going to be losing lots of material. We'll start with this edge first.
You can see we're starting to grind it away. Work a little more here at the tip. What we're cutting here, this is going to be the crown of our gem. Right down here will be where the girdle line is, and this portion will be the pavilion. The pavilion, of course, will cut in much sharper, but we're just trying to have enough material that we have for a crown. Once we get done cutting all these sides, we'll look at it and say, "Yep, I can get a trillion out of that," and then we go ahead with the faceting.
Now, I'm just looking to try and get this line even with this line.
That should be close enough. Still got a little bit here, but it may come out naturally, probably in the faceting. Perfect symmetry gives you the most brilliance, and that's really what I'm after for this gem, just to get the most brilliant gem possible.
Now that we're pre-formed, I've been working on the stone, trying to figure out just what to cut from it. My original thought was a Portuguese style trillion cut, and that's where I'm at now.
I don't typically have this pattern to work with on a design, but because of the size of the piece, and the unusual shape, I decided to use it. I'm going to use it here, to help me find the center.
Mark what this design says is the center, and then I'm going to do what I normally do to find the center, and that's to take a millimeter gauge, and take it well past the center point and create an arc, and then do the same on all three sides. Hopefully, those are somewhat coordinating.
We're set up here, and let's get this in place, press that down into the wax. I think we're pretty well set on the center of the stone. Hopefully, our wax will keep us in place there. Looks like it did. Now, we're going to need a bigger dop. We're going to want to clean it with alcohol. Make sure you get the dop oriented in here correctly, and that should be the right direction to line up with my 96 on the stone. See that we're flat, no gap between the stone and the dop. Looks like we're good. Just mix up equal parts of epoxy, we'll need quite a bit this time. We'll be getting hard soon. As you can see, I'm not gluing under the dop, and that'll make our ease of transfer much easier. You'll see that later. I do have to flip this over occasionally, to make sure it stays on the dop, and on the stone correctly.
Our morganite is successfully doped up, and we've got it placed into the ULTRA TEC V5 Faceting machine. This is a machine I currently recommend to you people interested in getting into faceting. Even for you people that have been faceting for a while and are looking for a better machine, this is the one. It's one I'm trusting this very expensive morganite, that will get it cut right.
When I bought this piece of morganite, I looked at it, and it obviously was some triangular shape. We talked about it, the best yield would be a shield cut out of this, mainly because of the way the corners were. I know that a trilliant will cut a prettier stone, so that's what we're going for.
To start with, we're going to use the master lap, and the 360 grit topper. Start the water. Here's our index. Right now, we're sitting on four, three and six are marked. You can see the little indentation there for four, and 92 would be the opposite. We just cut a very little bit here, so we can cut a little more there.
That probably removed 100 carats of this material, and we've still got more to go.
The girdle is pretty much finished, as far as I cut this with a 320 grit. We'll go back over it probably with a 1200, and then we'll polish. We're going to cut this now, and we're going to form a culet.
We're close to closing to a culet, but not quite. I'll lower the mast a little bit, and we'll close the culet, and then we'll actually start faceting.
We're going to go down to 56, then I'm going to slowly lower it, and see what it's doing. Where are you at? We're all the way up here, and we're going to cut down to here. I don't know if it's going to meet over there or not, but we're going to meet at this point down here, for sure.
We're coming along pretty well. It actually is pretty straightforward, and easy. Each row of facets, all you're doing is cutting till it comes down and meets the facet below it. What you have to do is set your angle, and then adjust the mast height, so when you get to the angle you want to be at, you hit the meet point. It's just a little bit of adjustment back and forth, to get it right, so you hit the angle when you hit the meet point in the facet row below it.
We're down to the last facet. We'll finish it now. That finishes this out. I'll have to go over this stone with a lower grit. I'm going to use the 600.
I'm just about done pre-polishing this. I'm on the last facet at the culet.
Now, I'll move on to the Batt lap, and polish all those facets I just did.
Now, I'm going to show you just what it takes to polish this stone. I've changed to the Batt lap. The Batt lap is a proprietary tin mixture that is harder than tin, and produces a very flat facet. To polish, I'm using 50,000 grit diamond, and WD-40. How you charge the lap is, you spray some WD-40 on a Kleenex, and like I said, probably best to buy Kleenex without the lotion in it. You don't need to mix up too many things into the mix here. Just wipe this down real well. You can see what's left from the last facet I was polishing. Then, we're going to charge it. You get a little of the WD-40 on your finger, touch it in there, spread it across, and spread it really well.
These are large facets, so they take quite a bit of time to polish. If you look at it, you can see I'm pretty much hitting pretty far to the right over here. I've got to cheat it to the left, cheat it a little bit left and go down just a little bit.
Well, I'm going to continue on, and finish the 50 facets I have left to go on this pavilion, and then we'll see what it looks like.
I finished the final facet on this. Now, I want to take a look, and make sure everything is polished correctly before we transfer it. To do that, I'll take a little alcohol and wipe the stone down.
The polish looks great, I'm happy with it. Now, we'll transfer it, and get ready to cut the crown. In transferring, the first thing we're going to want to do is make sure everything is clean. We use, this is 99% alcohol. You don't want to use regular rubbing alcohol, because it has glycerin in it. We want as pure of alcohol as possible. Clean the stone, clean the dop, assuring a good, solid connection with the epoxy.
We had to use a different transfer block, just because the size of this stone doesn't fit the standard ULTRA TEC dop. They do sell one that is bigger, that would work for this, but this is one I have for a different machine. Now, our gap is gone, because we cut that V into it, to fit the culet of this trilliant cut.
Each batch of this I mix really well, probably a minute and a half of mixing. It takes about three minutes for this to start setting up. I'll start by painting it onto the surface of the morganite, just to make sure I get a good connection, and then fill the dop. Before, we didn't fill the dop, but this time, it's important at this size stone. After we're done, we just soak it off anyway, so no reason to just paint it around the stone.
Now, we give this at least a couple of hours to get solid. I will wait overnight, a full 24 hours, that'll get you your most solid bond. Then we'll show you how to remove this side using very limited heat, so there's no risk to the stone. That's all about the way we dop this side of the stone without putting glue between the dop and the stone.
It's been about 24 hours, and our morganite is transferred. Now, we're going to have to remove the original dop from cutting the pavilion. Here's the new dop we've placed on, and here's the dop we'll use to cut the pavilion. Now, I've got to break this free. This is a case where I could use a little bigger X-ACTO knife. I have one at home, but that's not helping us any. We heat this up good, and we've got a lot of glue to remove there. I'll get the knife good and hot, and start removing the epoxy. Again, the size of the stone and the amount of epoxy makes this job a little more difficult.
This method, I'm really not transferring much heat to the stone.
All right, finally popped off. Like I said, this is usually much easier on a small stone, just a lot of glue to remove move.
All right, we're ready to cut the crown on this morganite, 80 facets to go. I'm going to be cutting this down somewhere into this range. Similar to what's left here is what I'll be cutting the girdle down to.
I want to go next and get this table, make sure it's flat, get that glue off there.
I just slowly lower it. I can look through the side of the stone. I can see when I'm actually cutting the table, and not still cutting glue. Let's take a look. We've probably cut enough of the table, at least I know it's smooth here, where I'm going to end up with a table. 50 Degrees.
Let's see where we're cutting. It's got to come down to the girdle, so we'll keep cutting, keep adjusting the mast height, try and end up at 50 degrees at the girdle. These two are cut. We'll cut another one here and here, but these, I'm going to go around and match these on the other sides.
I've got all the crown facets cut.
All right, finally, those 80 facets are finished, and time to move on to polish. I'm polishing with the Batt lap, and using 50,000 diamond grit, or diamond powder. I'll continue my way around these 80 facets, polishing with the 50,000 diamond powder, and I'll show you when I'm finished.
Well, eight hours later and I finally polished the crown. I still have this monster table to go.
We are using this marker just to mark it, and help me see if I'm close to being flat. Let's give it a try.
It's all finished. Got done polishing that huge table, which took probably an hour, which is not bad, and it worked out real well. Very happy with stone. All that's left is to find out what it weighs, how brilliant it is, and what the actual color is. Then we'll come up with a determination of what we think the value is. This is my jar of a tack that will soften up the epoxy, and hopefully by tomorrow, we'll be able to get it off this dop. Hopefully, my jar is big enough. I've never had that issue before. No, it's close. I think it's in there. Overnight, I would expect that to free up, and we'll see what we get. It's been a long, hard journey getting this stone cut. I'm worn out, but it'll be exciting tomorrow, to see what it looks like.
Finally, after more than 24 hours, our stone is finally broken free from the dop. Now, with some trepidation, I'll take a look at this, and just see what we've got.
Well, it's beautifully brilliant, and the color's just amazing. It really is. I really couldn't have asked for more. We'll see exactly when we weigh it whether I ask for enough, or got as much as I expected out of it. One more look, and then we will take a look, and just see what this gem weighs.
It just keeps getting better. We get in this natural daylight, and the beauty of the gem, it just blows me away. We started at 744 carats. Let's take a look, see what the final weight is. Let's get it on carrots. Wow, almost 300, 294.54 carats. I'd hoped for 300, but expected 250, so I'm pretty happy with that, and just happy with the beauty of the stone. I just have to take a look at it a little more, and see just how great this color is. I know it's a great color, but is it as good as possible? It's really an amazing gem.
This gem guide is used by most jewelers in the trade to appraise colored gemstones. Now, I've used this guide to appraise our 295 carat morganite, and I've come up with a value of $192,375. If you've enjoyed this video, please like and subscribe. If you want to own your own morganite, go to MoreGems.com.

Leave a comment
Comments will be approved before showing up.